Tuesday, April 16, 2013

Soap Challenge Week Three. 2013


This week's soap challenge was to use mica colors to swirl on the top of the soap.  For the mica's I chose 2 different colors from the The Conservatorie, Ruby Rose Mica and Titanium Luster Mica. The third color was Sparkle Gold Mica from Bramble Berry. I pre-mixed the mica's in a small amount of olive oil and will drizzle them on top of the soap. I had planned on making a gold mica line between the swirled soap base and the solid colored soap top but forgot to do it.....I wish I was paying more attention as I think it would have been a nice touch.
The fragrance I selected for this soap was "Frosted Cranberry" and it smells so yummy! I really enjoyed this technique and how it dressed up the top of the soap bars.  I love how the mica just sparkles on the top and there are so many colors to choose from.

I am very happy to share some pictures of the process I used in making my soap and hope you will enjoy looking at them. Please go to Amy's blog and see everyone else's masterpiece soaps at: GreatCakes Soapworks
Enjoy the pictures!


Here are my mica colors all mixed up. Notice the tea infuser, it has
my gold mica in it ready for the mica line between the base and
the top color, how could I forget to put it on the soap???
 
After pouring some of the soap into the mold I added some
of the color and did a spoon swirl. 


This is what it looked like after doing the spoon swirl. Now to
add another layer of the soap.

 
I added some more color on top of this layer and spoon
swirled it again. I am loving this pinkish color.
 
 
Here it is with my top layer poured over the swirled soap base.
 
 
This is what the mica looks like drizzled on the top.
I did add more of the mica to the top to get even more color.

 
Here it is all swirled, the mica is so pretty!


A closeup of the mica....what do you think?


Here is the soap out of the mold. Now to cut it and see how the swirl looks on the inside.


The next soap challenge will be "Leopard Spots". I have no idea how to do that one.
Wish me luck and I hope you come back and see how it turns out.


Saturday, April 6, 2013

Soap Challenge Week Two. 2013


This week's soap challenge is to make a soap using a technique called "Elemental Swirls".  Amy Worden from Great Cakes Soapworks described it like this, " in-the-pot swirls divided by a pencil line. You will need to divide your soap into eight equal parts – 3 colored parts with similar tones + 1 uncolored part for each layer". I decided that I wanted to try this method using my Upright Vertical Mold instead of pouring it into a regular loaf mold. My thought was to pour the 2 different 'in-the-pot swirls' on each side of this mold and before removing the center divider to twist it 180 degrees and that would make the color transfer to the opposite side of the mold and create a circle in the middle of the soap. Well one thing I have learned with soap making is you don't always get what you planned. In this case my soap was setting up too fast after adding the fragrance and I did not get a fluid pour, more like I just better hurry and glob it into the mold pour. My circles of colors are a bit lopsided due to the soap setting up so fast but I still like how the soaps turned out, each one has its own personality. Can soaps have personalities, or maybe I should say their own uniqueness?
The fragrance I used was "Pearberry" and I again printed off pictures of fruit and berries to plan out my colors. For the pear colors I used Apple Green Mica and Yellow Mica, for the berries I used Magic Blue Mica, and the red I mixed Red #4 and Red Lake #7 and mixed in a bit of Valentine Red (TKB trading).

I would have liked to take more pictures to share of my process with you but the soap started setting up way to fast so I hurried to get it into the mold and just hoped for the best. 

Be sure and stop by Amy's blog and check out the other soaps made by all the other talented soap makers at: GreatCakes Soapworks
 
Mold - check.   Soaping Oils - check.
fragrance oil - check.   Colors - check.


My picture for my color inspiration.

 
Here is the soap in the mold after the center divider
has been turned 180 degrees and removed.


The soap unmolded, can't wait to see it cut!


The following pictures will show you just how different each soap came out.
I would have liked to have seen more of the natural soap base but
I still like them. I will definately try this again!


I had some soap batter left over and I poured it into a small loaf mold.
The soap was too thick to pour so I spooned each color into the mold dividing the
colors on each side of the mold. I think these turned out cute also.


Saturday, March 30, 2013

Week 1 Soap Challenge 2013

I am very excited to again be participating in another one of Amy Worden of GreatCakes Soapworks  "Soap Challenge".  This is the second year she has offered people to sign up and "challenge" themselves to try new soaping techniques and post their results. This year I didn't even have to give it a second thought and committed right away. I am of course hoping it will be a yearly event, you know like this would be the "2nd annual Great Cakes Soapworks Challenge" (hint, hint Amy).

On last year's challenge I learned so much and expanded my soap making skills. All the other participants were so talented and some of the nicest people to take the journey with. The pictures of everyone's soaps were amazing and so fun to look at. I never get tired of looking at other peoples soaps....may seem strange to some, but not to us soapers. We call it "soap porn".


This week's soap challenge is to make a soap using a technique called "Tiger Stripes". I was very excited to be doing this one. Let me explain, you see I live in a very small town in Oregon called Yamhill, which is a farming community. The population is around 700, the town consists of a small strip of businesses which includes a small country store, one gas station, post office, bank, 3 small restaurants, and a few other businesses. Our bordering town is Carlton and the kids from both cities go to school together. The Elementary school is located in Carlton, the Junior High and High School are in Yamhill. You are probably wondering what all this has to do with me be so excited about making a "Tiger Stripe" soap, well the High School's mascot is none other than a TIGER!
Well here goes.........................................

 
Here you can see that I have pictures of tigers that I printed as my
 inspiration for my colors and I have my colors selected ready to mix.


Colors are mixed, gloves are on, I am ready to get started. Oh yes and
my fingers are crossed that this will come out just like I visioned it.


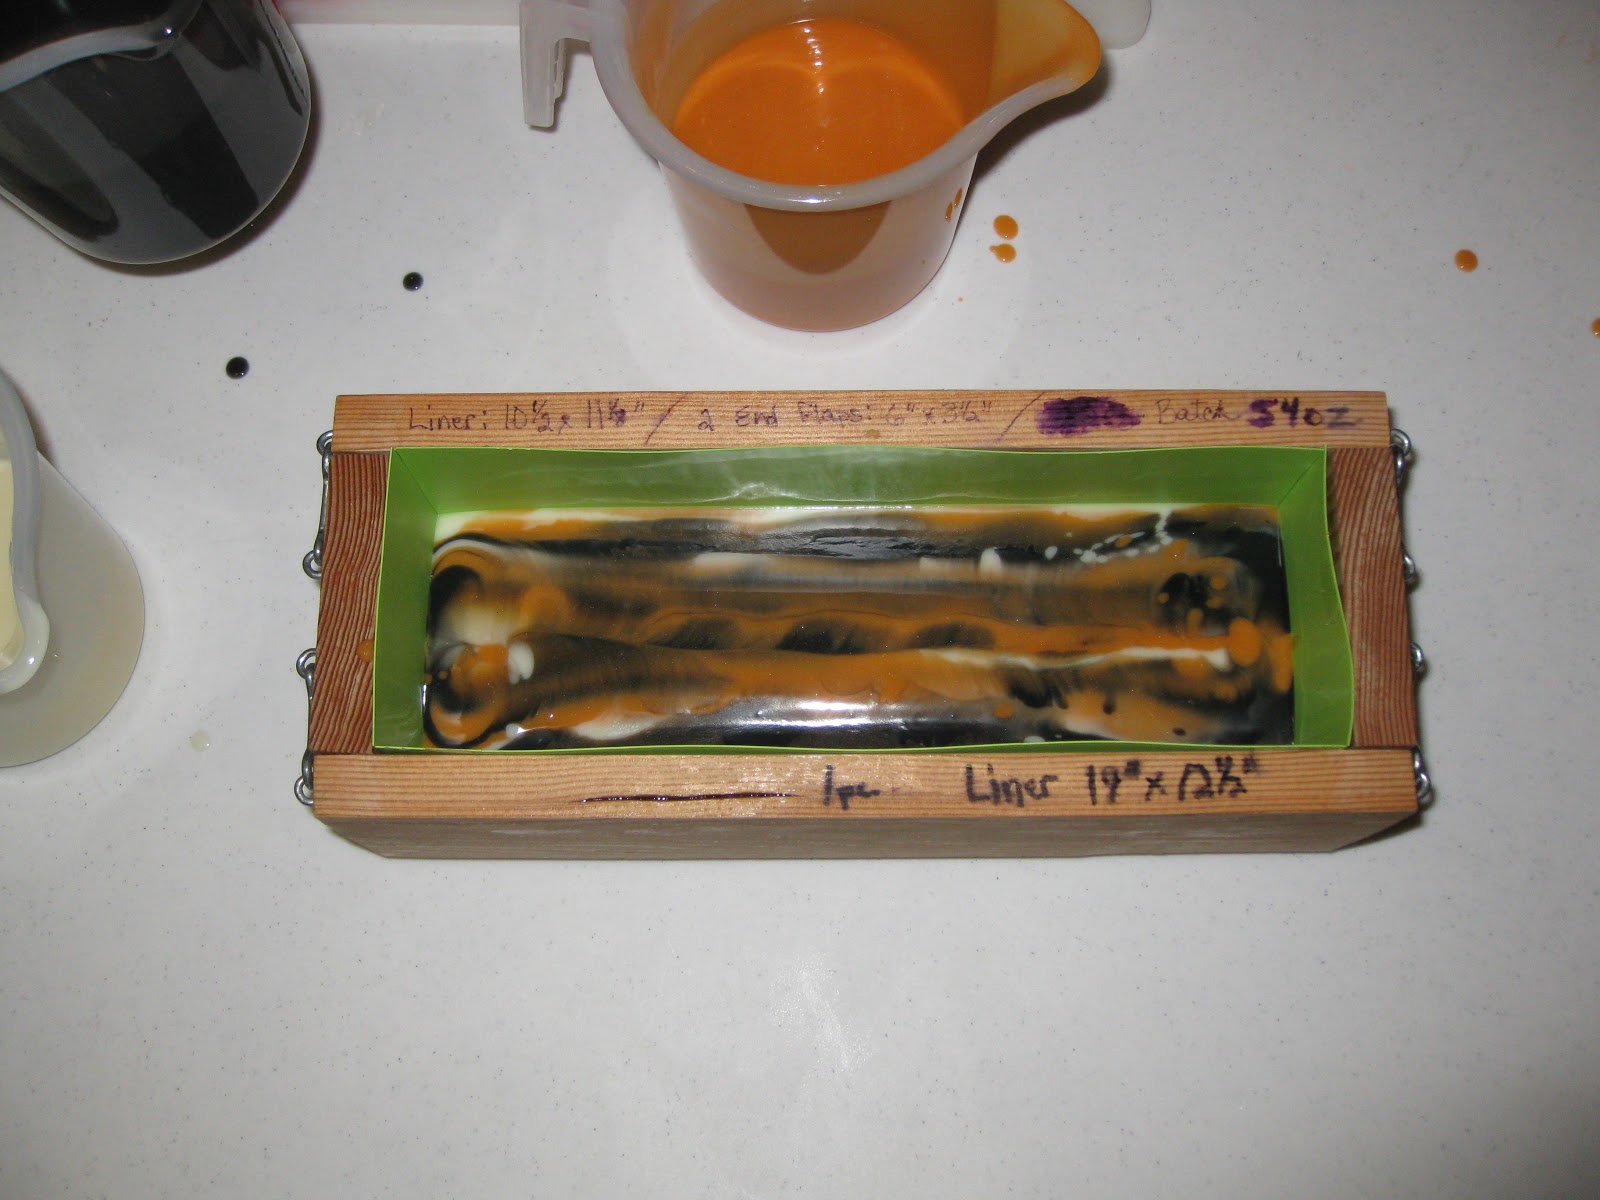
I have started pouring my colors. I poured a thin line of color 1,
then poured a thin line of color 2, then a thin line of color 3. I
continue pouring each color this way until the mold is full.


All the soap is now poured into the mold.
So far everything has gone well.....whew!

 
I textured the top and put on a bit of glitter.
I can't wait to unmold and cut it to see what
the inside looks like. Waiting is the hard part!
 
Here are a couple pictures of the Yamhill/Carlton
High School Gym showing a great painting of their
Tiger Mascott.
 
 
Here is my "Y/C Tiger Soap" Scented with the  
fragrance oil "Energy".


Saturday, July 28, 2012

My search for a perfect Watermelon

I have been wanting to make a "Watermelon Soap" for a long time. You would think that it not be too hard to do. Well for starters I will need to find the perfect watermelon color, sounds like it would be pretty simple doesn't it. I have found that to get a good red is really hard to accomplish in a cold process soap. First you start out with a white to cream colored soap base, and when adding a red colorant to that you get pink, add more red you get a darker pink. Getting the perfect watermelon color will be my biggest challenge. I have seen pictures of soaps that  have a really nice red in their cold process soaps, I really envy the soapmaker for knowing the secret to getting that red. I don't feel that watermelon is a really bright red, to me that it has more of a reddish/coral coloring to it.
I ordered several different red colorants and got busy mixing up the colors for my test batch of soaps. This is what I mixed for my test:

Lake Dye #7
Lake Dye #22
Lake Dye #40
Bordeaux Mica
Queen Kathryn Mica
Ruby Rose Mica
Non-Bleeding Liquid Red
Valentine Red Liquid Colorant


Now I would like to show you some pictures of some of the testing process and my finished soaps.


Here are some of the test colors mixed up. I brushed some of
the colors onto the paper towel to see what they looked like.


Here are the test soaps with all 8 test colors.


Here they are out of the molds, you can see some slight
color changes in some of them. I have arrows pointing to
the soaps and what color I used.


I just could not help myself, I had to go pruchase a watermelon to be sure
of the color. And yes it was a good tasting watermelon! Here you can
see the comparison on the top row between the Red #40 & Red #7. The
other colors did not even come close to being correct.


Now for the bottom row. The only color I felt come close is
the Valentine Red liquid color.


This one is looking real close to the right color.
 I wonder if it might fade lighter as the soap cures?


One more comparison before I decide. I think the
#40 might be too light and the #7 looks more like a
tomato red. 


OK, I have now decided how I am going to color my soap, and of course
you need to have seeds for the watermelon. Now on to making my soap.


And here they are out of the mold and cut. They are scented
with at watermelon fragrance oil and boy do they smell good!
They will be available for sale the middle of August, 2012.


I just love how they turned out, and they were very fun to make.


I am wondering what color you would have choosen from the test bar pictures.

Hint: I used 2 of the color choices for these bars.


Saturday, July 14, 2012

Soap Challenge Soap Swap

I was sorry to have the "Soap Challenge" come to an end. I had a lot of fun trying new methods of soap making, but I think my favorite part was getting to see everyone else's soaps and read about their soap making adventure.

At the end of the challenge Amy offered us a 'Soap Swap" with the other participants, we just had to let her know if we were interested. Boy I jumped on that right away. How fun would that be! For the swap Amy teamed us up with another soap maker that had also signed up and we were to send one or two bars of soap that we made to each other.
I would like to share the soaps that I received from Lisa of Willow Moon Botanical Bodycare. They all smell so good and I cannot wait to try them all. I received a bar of her "Cocoa Mint Bliss" which was from her in the pot swirl challenge, along with one of her popular bars from her regular soap line "Comfrey, Oats & Aloe". As a special treat I also received some sample bars of soaps, "Earth Dance", Lemongrass & Ginger", "Rosemary Nettle" shampoo bar, Lavender & Tea Tree, and Apple Harvest". 

I want to thank Amy for all her hard work she put into this series of soap challenges for all of us to enjoy, learn more skills, and to connect us with other talented soap makers. I also would like to thank Lisa as my "Soap Challenge Swap Partner". This has been a fun adventure for me, if you were to ask me if I would do this again my answer would be "In a heartbeat, YES". If you ever get the chance to participate in something like this I would encourage you to jump at the chance, you will not regret it!
Amy makes some beautiful soaps, you can keep up with her creations on her blog and be sure to go to her web site and see what she has available at:  Great Cakes Soapworks